A Portrait Framing Guide
It’s your one-month wedding anniversary. The honeymoon luggage has been tucked away. All the wedding gifts have been opened and thank you notes have been sent out. You open your email inbox to find that your wedding gallery has been delivered! You make a date night out of it—scrolling through your gallery while eating take-out and reliving all the fun. 💻🍜🎉
Three days later and you’ve downloaded your gallery, posted a few favorites on Instagram, sent a few funny group photos to your best friend—great, now what.
I say it all the time—don’t forget to print your portraits. Don’t let your investment live in tiny squares on social media alone. Frame them. Order an album. Hang them on the walls of your home. Share them with your family + friends.
This post was inspired by one of my former brides. She messaged me explaining that she had so many empty walls in her new home and no idea where to start. I am not an expert, but I sent her links to some of my favorite frames + ideas. She ordered the frames and I can’t wait to see the final product. Until then, I thought it might be helpful for my other former (or future) clients to get some inspiration and print those portraits if you haven’t already!
First, print your favorite pictures straight from your online gallery. Did you know that your online Pixieset gallery comes with a storefront that is very user friendly? You can create a favorites list within your gallery and order your selected images. There are different sizes + paper options and your professional prints will be sent directly to you from the lab. I highly recommend printing your images from a professional photo lab rather than a consumer lab (like Walgreens or Costco). Recently, I ordered prints from multiple labs (both cheaper consumer labs and a few different professional labs) to see the quality difference—and guys—the results were crazy. I am going to share the comparison on my next blog, so check back in a week or two!
Ok, next step, now that you have your prints—let’s display them. Here are some of my favorite ways to incorporate your portraits into your home.

Gallery Walls—This trend is awesome to fill large spaces with different portraits, art pieces, or prints. I love the idea of doing an entire block of black + white images, as seen in the Pinterest picture above. I love both the grid style gallery walls in living rooms, office spaces, and entryways. If you are doing more of an “effortless” eclectic gallery look it actually does take some planning. An easy way to map out a gallery wall is to lay your frames and art pieces on the ground first and measure where you want everything to line up.

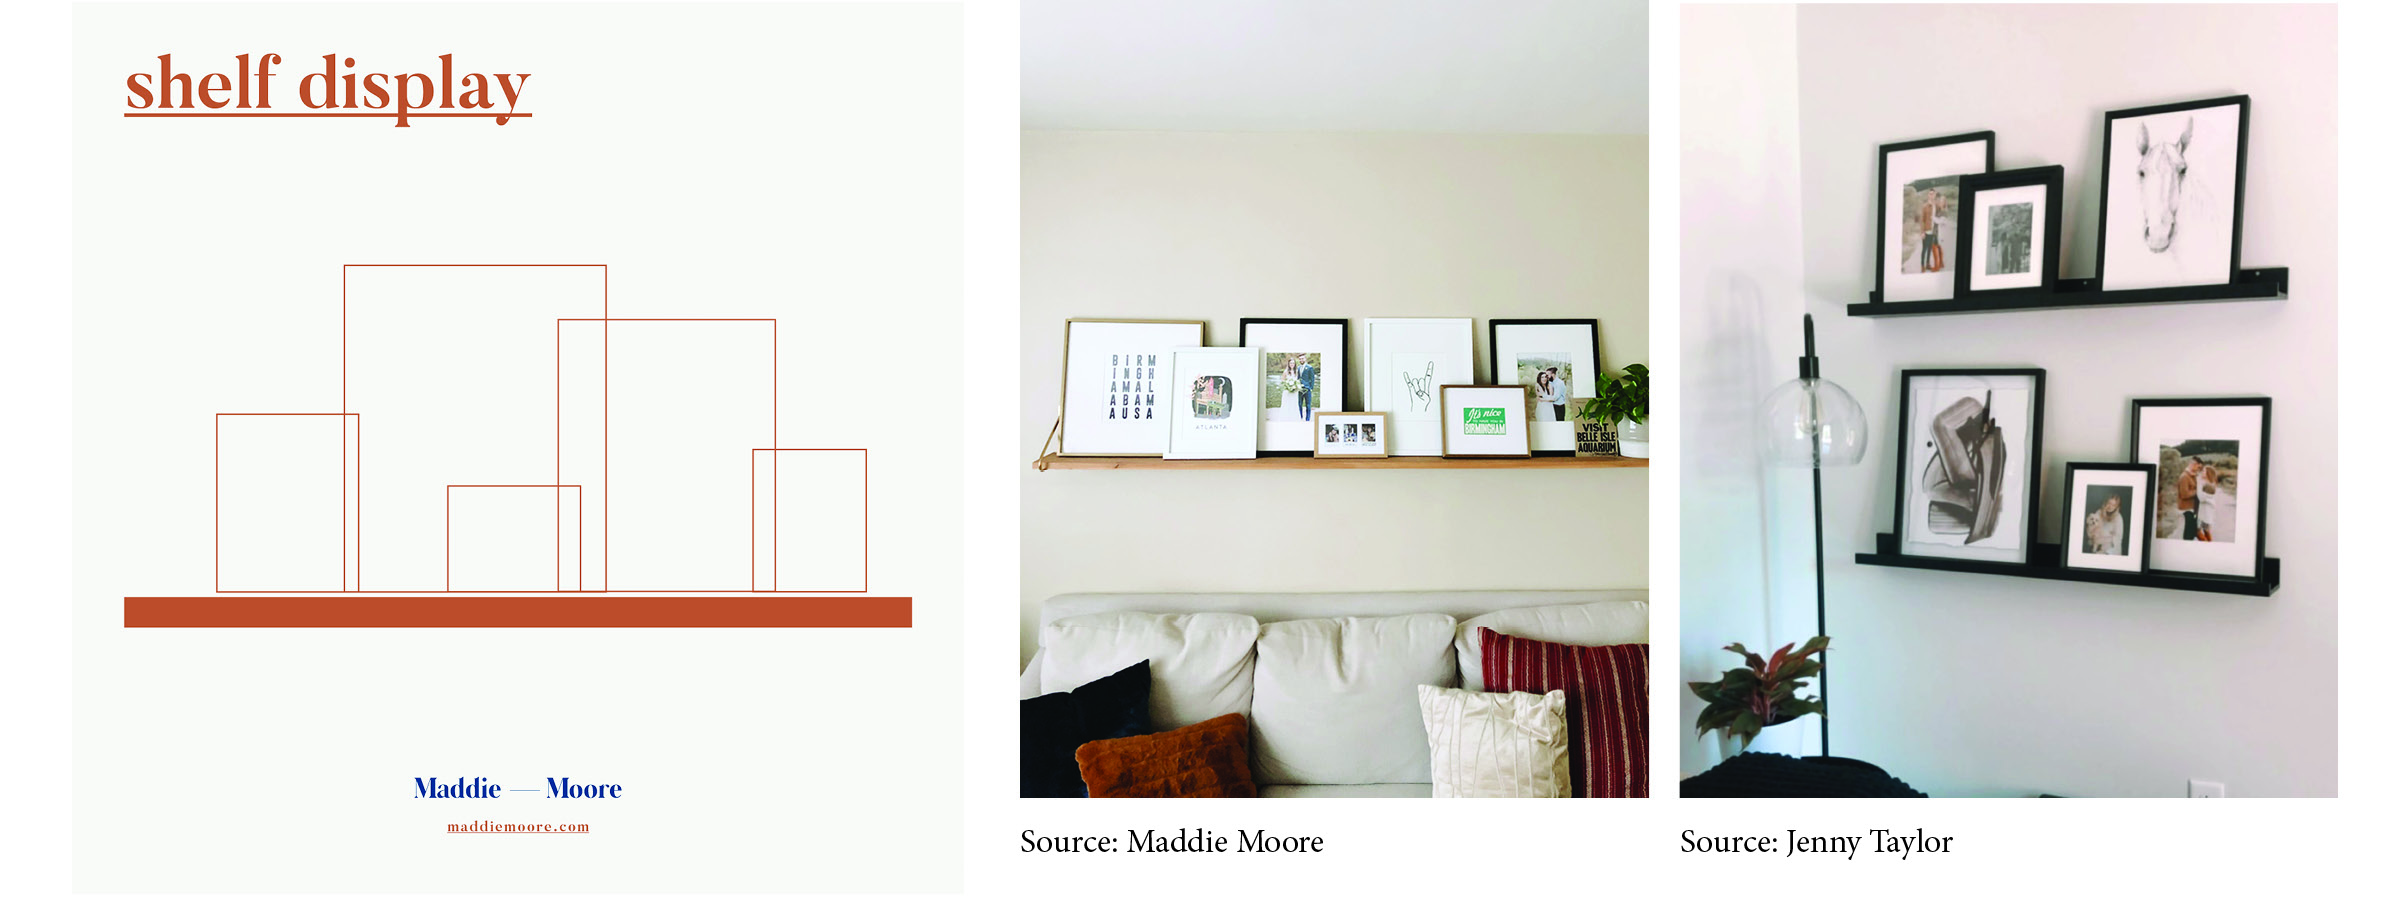
Shelf Displays—If you live in a rental and don’t want to hang frames or you like switching out your art frequently—you can show off your prints by leaning the framed pieces against a wall for a more layered look. We did this in our living room above our couch and it allows me to easily update pictures each year! We made the shelf ourselves from with some Home Depot lumber + some cheap brackets off Etsy. However, you could totally buy premade shelves or do this with a bookcase you already own.

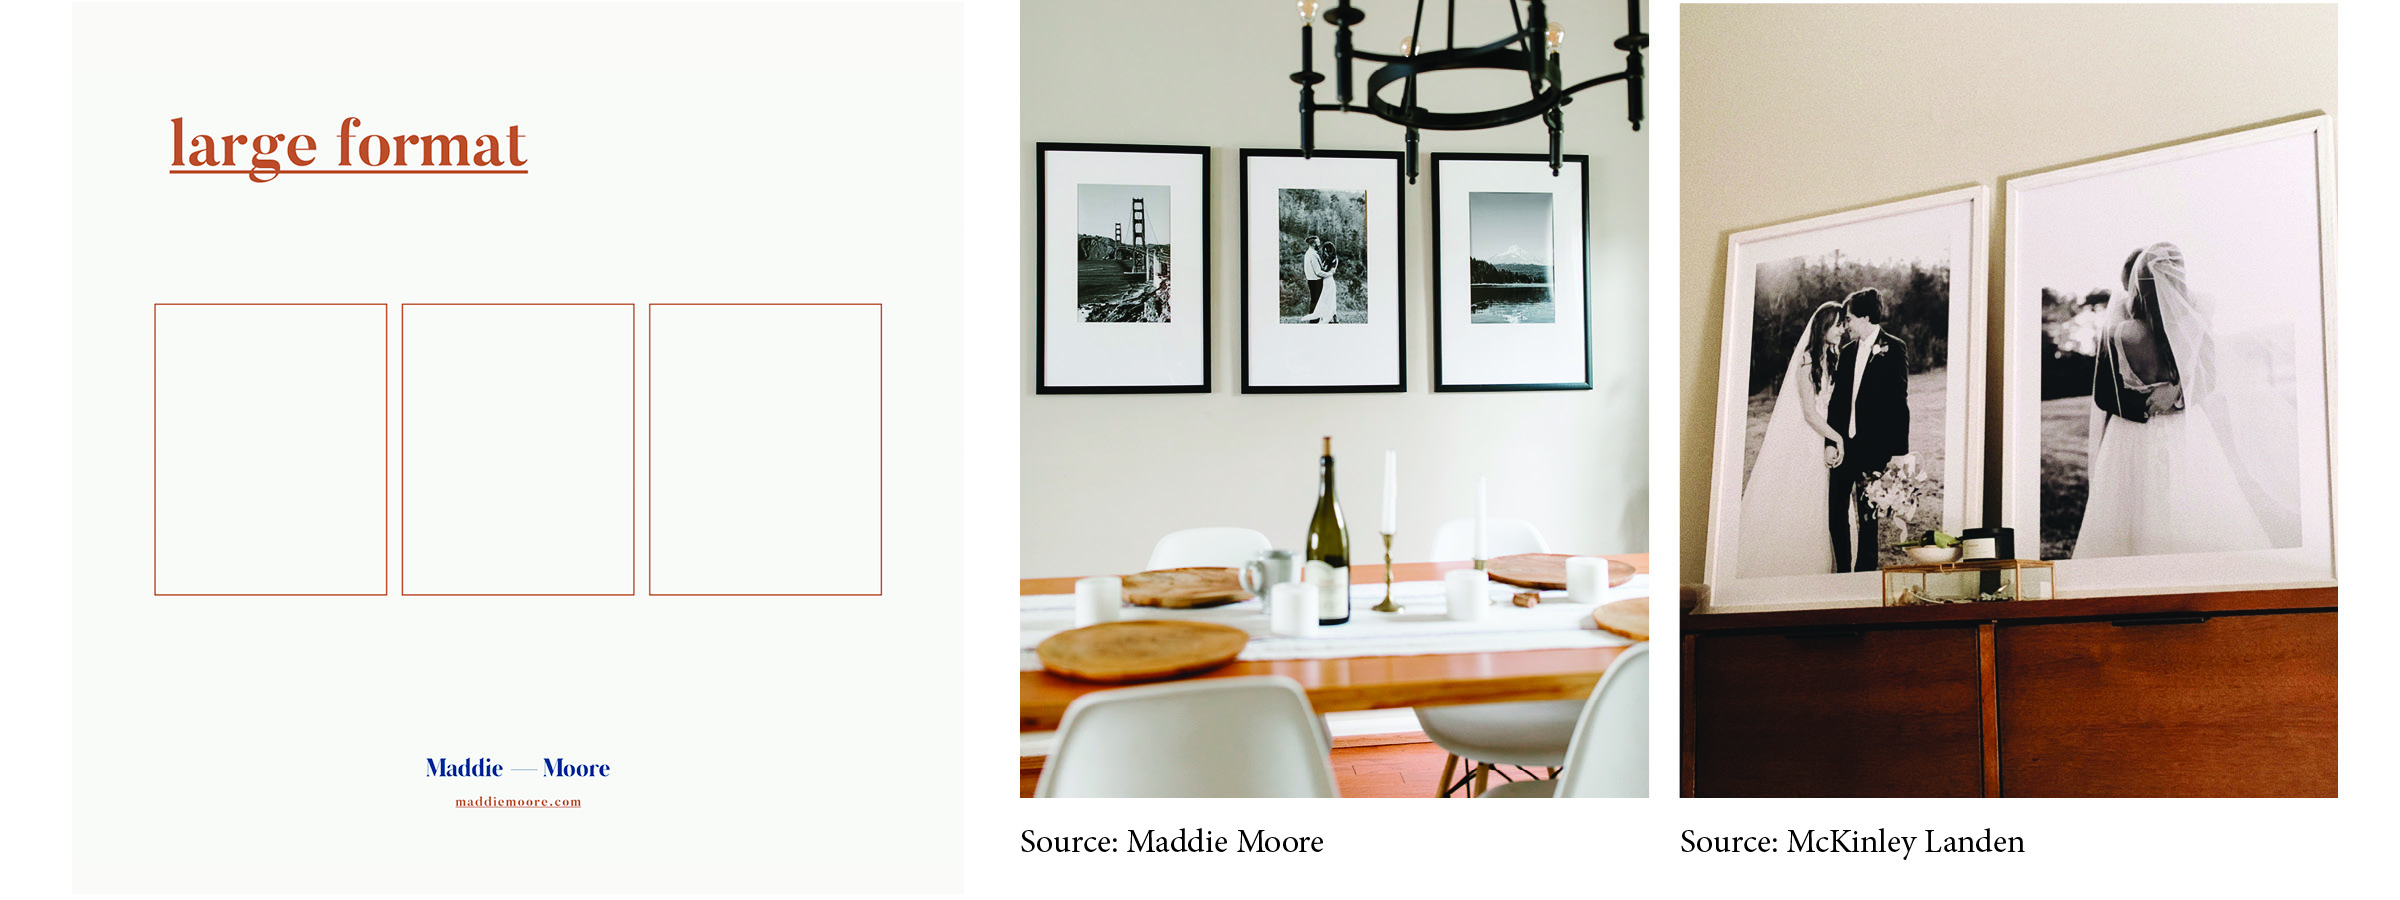
Large Format Prints—Another one of my favorite quick + easy decor options is the oversized frames + large scale prints. We have a huge wall by our dining table and because I am not a gifted interior decorator, I kept it simple with 3 large black and white prints. I think oversized frames look really cute over bedframes, on entryway tables, or hung in hallways!
—
Some of my favorite frames—
Large Craig Black Frames — Amazon
White Wood Frames — Target
Brass Frame — CB2
 (If you have framed your wedding or family photos, I’d LOVE to see how you incorporated them into your space! Snap a picture and send me an email!)